
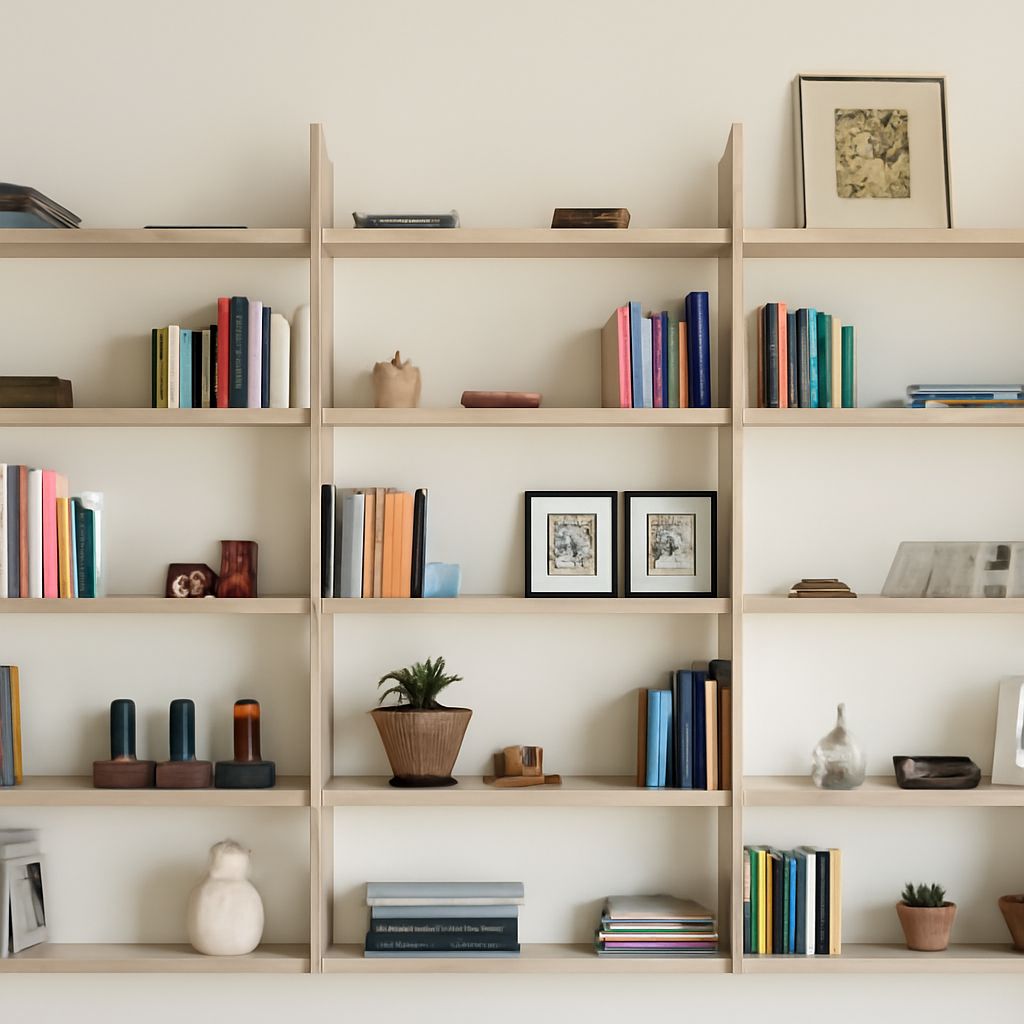
Modular shelving lets you build a wall unit around your room, storage needs, and future changes. The best choice depends on whether the floor, wall, or both carry the load, and how precisely the system fits your available width.
Compare the module grid, usable shelf dimensions, span limits, attachment method, accessories, finish, and replacement-part availability before ordering. A quick taped layout and component count can prevent expensive gaps, clashes, and unsupported shelves.
Choose the Right Modular Shelving Format
Choose the format according to support, appearance, and how often you expect to reconfigure it. Common options include:
- Freestanding systems: These stand on feet or a plinth and usually resist minor wall irregularities. They suit renters, room dividers, and collections that may move. Anchor them to the wall for anti-tip protection.
- Wall-mounted systems: These keep the floor clear and create a lighter appearance. They need reliable anchors into studs, masonry, or a correctly specified backing panel. They work well above desks, media units, and benches.
- Rail-and-standard systems: A horizontal rail or vertical standards carry adjustable brackets. Elfa Décor is a familiar example. This format changes quickly and makes efficient use of closets, utility rooms, and irregular walls.
- Cube systems: Products such as IKEA KALLAX use repeated square compartments. They are simple to plan and visually consistent, but their fixed openings limit shelf height and large-item storage.
- Component systems: String System and USM Haller illustrate more configurable approaches, with separate uprights, panels, shelves, doors, and cabinets. They offer strong visual control but require more careful ordering.
Check the fixed module increments before comparing prices. A system may accept shelf positions every 25 or 32 millimetres, while its bay widths remain fixed at sizes such as 600 or 800 millimetres. Smaller increments improve adjustability, but they do not make the bay wider.
Measure and Map Modular Shelving Units
Measure the wall in several places, including the height near the floor, the ceiling, and each corner. Record skirting boards, radiators, outlets, switches, doors, windows, and trim. Use the smallest clear dimension when planning a tight fit.
Separate nominal from usable dimensions. A listed shelf width may describe the panel, not the clear space between uprights. Deduct upright thickness, clips, brackets, doors, and required side clearances. Shelf depth also changes when a back panel, cable channel, or door is added.
Map the system on graph paper or in a simple scaled drawing. Then mark the same grid on the wall with low-tack tape. Include every upright, shelf, cabinet, filler, and end panel. A two-bay unit with five shelf levels, for example, may require three uprights, ten shelves, ten pairs of shelf supports, a base or foot set, and anti-tip hardware.
Test the layout with the items you will store. Mark the height of books, speakers, baskets, artwork, and equipment rather than assuming every level should be equal. Leave clearance for doors to open and for hands to reach the rear of each shelf.
Allow for the system’s fixed increments when measuring around obstructions. A 40-millimetre gap may not accept a 40-millimetre adjustment if the uprights or shelves move only in predetermined steps. Use a filler, altered bay width, or a deliberate end gap instead of forcing the final module into place.
Check Modular Shelving Systems for Load and Attachment
Read the load rating for the complete assembly, not just the shelf panel. Ratings may assume a particular span, bracket spacing, attachment method, and evenly distributed weight. Heavy books concentrated at the centre create more stress than the same weight spread across a full shelf.
Shelf span is a key decision. Long shelves are more likely to sag, especially with particleboard or solid timber. Reduce the span with an extra upright, choose a thicker panel, add a front stiffening edge, or lower the load. Do not treat a higher material rating as permission to exceed the system’s bracket or upright limit.
Decide whether the wall or floor will provide primary support:
- Floor-supported units: Set the feet or plinth on a firm, level surface, then secure the upper frame to the wall to prevent tipping and racking.
- Wall-supported units: Fix rails, brackets, or uprights to structural points. Use anchors rated for the actual wall material, and account for plasterboard, tile, insulation, or hollow cavities.
- Mixed-support units: Let the floor carry vertical weight while the wall connection stabilizes the frame. This is often the most forgiving arrangement for tall installations.
Install in this order: confirm the wall and floor, locate studs or suitable anchor points, fit the rail or base, install uprights, level the frame, attach shelves and cabinets, secure the anti-tip connection, and then load it gradually. Level from the highest floor point using adjustable feet or suitable shims. Check level again after tightening every anchor.
Place dense items low and close to uprights. Keep fragile or frequently handled items between waist and eye level. Recheck the frame after loading; movement, leaning, creaking, or visibly deflected shelves indicates that the attachment, span, or load needs correction.
Plan Modular Wall Shelving Around Corners and Ends
Corners and exposed ends determine whether the finished installation looks intentional. An inside corner may need a return bay, a corner shelf, or a filler to hide the unusable space behind uprights. Check whether shelves physically clear each other; two full-depth panels can collide even when their nominal widths fit.
Outside corners need a finished edge, end panel, cap, or carefully aligned return. Do not assume an end upright can stand directly against a wall with skirting or uneven plaster. Measure the obstruction and confirm the manufacturer’s minimum side clearance.
Decide where the visual rhythm should stop. A symmetrical pair of end panels may look better than one exposed upright, while a deliberately open end can provide access to cables or baskets. Keep doors, drawers, and pull-out accessories clear of adjacent walls and furniture.
Specify Modular Shelves, Accessories, and Expansion
Choose accessories only after the main grid works. Doors and drawers conceal clutter but reduce usable depth. Dividers, bookends, trays, baskets, lighting channels, and cable-management parts improve daily use, yet each may consume vertical or horizontal space.
Compare finishes according to wear and maintenance. Powder-coated steel handles impact and humidity well. Veneer adds warmth but needs protected edges and careful cleaning. Laminate offers consistent colour and easy maintenance, while painted or foil surfaces can vary in resistance to scratches and heat. Request finish samples if adjacent furniture must match.
Before buying, check that the supplier sells individual parts rather than only complete kits. Confirm the availability of matching shelves, brackets, feet, doors, end panels, fasteners, and replacement hardware. Record the product line, finish name, shelf thickness, module width, and installation date for future orders.
- Reserve one empty bay or a planned expansion position if storage needs may grow.
- Buy a small surplus of system-specific clips, anchors, and end caps where practical.
- Confirm that a future bay can attach to the existing upright, rail, or frame without dismantling the whole unit.
- Check that later shelves will match the original depth, edge detail, hole pattern, and finish.
- Keep the heaviest future items within the current floor, wall, bracket, and span limits.
A complete buying checklist should therefore include the measured wall, module increments, usable dimensions, corner and end treatment, component count, attachment hardware, leveling method, shelf-span solution, accessory clearances, finish, and future-part supply.