
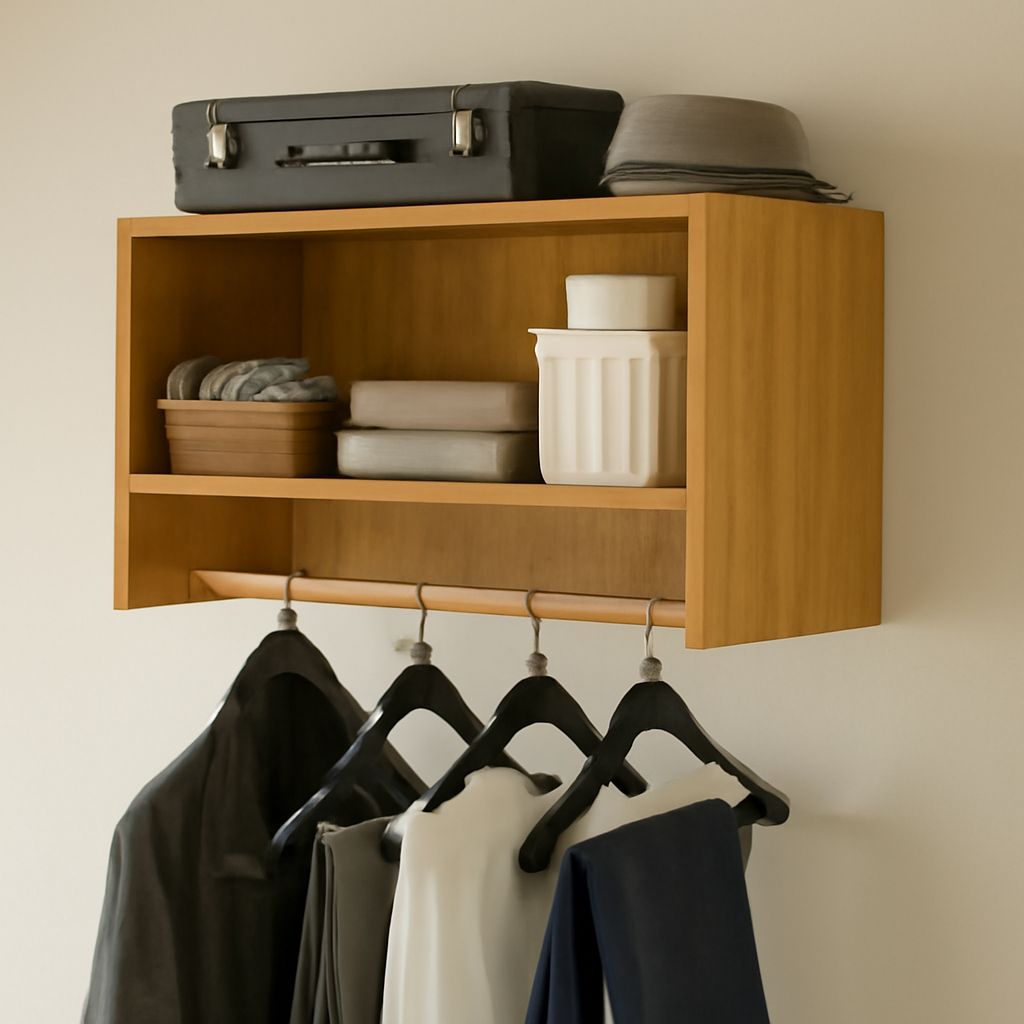
For most closets, 3/4-inch plywood is the best all-around choice for wooden closet shelves. It resists sag better than particleboard, accepts paint or clear finish, and can support folded clothes, linens, shoes, and storage bins when properly supported.
Choose shelf depth by the items stored, then match thickness, span, edge treatment, and supports. A practical installation sequence is: measure, make a template, cut, seal, install supports, level, fasten, and load gradually.
Choose wooden closet shelves by material
Plywood: Use 3/4-inch cabinet-grade or sanded plywood for a strong, stable shelf. It is the most versatile option for long closet runs. Apply solid-wood edging or veneer tape to hide the plies and stiffen the front edge.
Solid wood: Pine, poplar, oak, and maple provide an attractive finished edge and can be stained or painted. Solid boards may expand and contract across their width, so leave a small gap at fixed side walls. Select straight, dry boards without large knots, especially for wider shelves.
Laminated board: Melamine-coated particleboard is smooth, affordable, and easy to wipe clean. It works well for short spans and lightweight clothing. Its cut edges need edge banding, and exposed particleboard absorbs moisture quickly. MDF offers a smoother painted surface but is heavy and also needs complete sealing.
For a durable default, choose 3/4-inch plywood with a 1-by-2-inch front nosing or solid-wood strip. The thicker front edge reduces visible deflection and gives the shelf a finished appearance. Use 1/2-inch material only for short, closely supported shelves carrying light items.
Set depth, spacing, and span for wood closet shelves
Measure the actual closet, rather than assuming the walls are square. Useful finished depths include:
- 10 to 14 inches: shoes, small accessories, and shallow folded garments.
- 12 to 16 inches: folded shirts, sweaters, and everyday clothing.
- 16 to 18 inches: towels, linens, handbags, and larger folded items.
- 18 to 24 inches: storage bins, blankets, and bulky seasonal goods.
Keep shelves deep enough for the item but shallow enough to see and reach the back. A 16-inch shelf is a useful general-purpose size. For a shelf above a hanging rod, 12 to 16 inches usually leaves the rod accessible without creating an awkward overhang.
Allow about 10 to 12 inches of vertical clearance between shelves for shirts and folded trousers. Use 12 to 16 inches for sweaters and towels, and 16 to 20 inches for bins or tall linens. Measure the actual bin height, then add at least 2 inches for easy removal.
Span is the unsupported distance between brackets, cleats, or vertical dividers. A 3/4-inch plywood or solid-wood shelf should generally have support every 24 to 30 inches when carrying books, linens, or full bins. Light clothing may allow a 32- to 36-inch span if the front edge is stiffened, but shorter spans reduce sag.
MDF and particleboard usually need closer support because they deflect more under a permanent load. Add a center divider, front nosing, or another bracket when the shelf approaches its maximum span. Do not judge capacity by whether an empty shelf looks straight; sag develops over time under a constant load.
Plan cleats, brackets, and a wood closet shelf around rods
Closet wood shelving needs a support plan before cutting. A continuous rear cleat and side cleats provide strong, unobtrusive support. Use straight 1-by-2 or 1-by-3 boards, depending on the shelf depth and load. Install the cleats into wall studs whenever possible.
Locate studs with a finder, then confirm their positions with a small pilot hole. Drive screws long enough to penetrate the cleat, drywall or plaster, and at least 1 inch into the stud. Where studs do not align, use toggle bolts or another load-rated hollow-wall anchor. Do not rely on ordinary plastic anchors for heavily loaded shelves.
Use metal shelf brackets when the wall is uneven, the shelf is freestanding at one end, or the span needs additional support. Space brackets about 24 to 30 inches apart, placing the outer brackets within 6 to 8 inches of each end. Bracket depth should cover at least two-thirds of the shelf depth, and the bracket rating should exceed the expected load.
A wood closet shelf can share space with a hanging rod, but plan the rod first. For a single hanging rod, leave roughly 10 to 12 inches between the rod and the shelf above it. Position the rod so hangers clear the shelf front and side walls. If a shelf supports rod hardware, reinforce it with a front cleat or vertical divider; do not fasten a loaded rod bracket only to the shelf edge.
For double-hang layouts, reserve approximately 40 inches of vertical space for each hanging section, adjusting for garment length. Keep shelves above the upper rod high enough for access, while leaving enough clearance to lift bins or folded items onto them.
Install and finish wood shelving for closets
- Measure: Record the closet width at the front, middle, and back, plus the depth on both sides. Use the shortest width for a wall-to-wall shelf. Check each wall for plumb and note baseboards, trim, outlets, doors, and rod hardware.
- Make a template: Cut cardboard to the planned shelf depth. Test it in the closet, marking corners, obstructions, wall irregularities, and rod clearances. A template prevents expensive errors when the walls are out of square.
- Cut: Transfer the template to the board and mark the finished front edge. Support the sheet fully while cutting. Use a fine-tooth blade, keep the finished face oriented correctly, and make notches slightly loose rather than forcing the shelf into place.
- Seal and finish: Sand exposed edges, then apply solid-wood edging, iron-on veneer, or a glued front nosing. Seal every face, edge, and cutout with paint, polyurethane, or another suitable finish. Give special attention to MDF and particleboard, which swell when moisture reaches their cores. Let the finish dry fully between coats.
- Install supports: Mark a level line for the cleats or brackets. Attach the rear support first, then the side supports, checking level in both directions. Shim behind a cleat where the wall dips instead of pulling the board into a bow.
- Fasten the shelf: Set the shelf on the supports and confirm that it sits flat without rocking. Secure it to cleats with screws through the underside or use approved bracket fasteners. Predrill near plywood edges and solid-wood ends to prevent splitting.
- Load gradually: Place light clothing on the shelf first, then distribute heavier bins and linens across its full width. Check for movement, loose fasteners, or visible deflection after loading. Add a center support or front stiffener before the shelf becomes permanently bowed.