
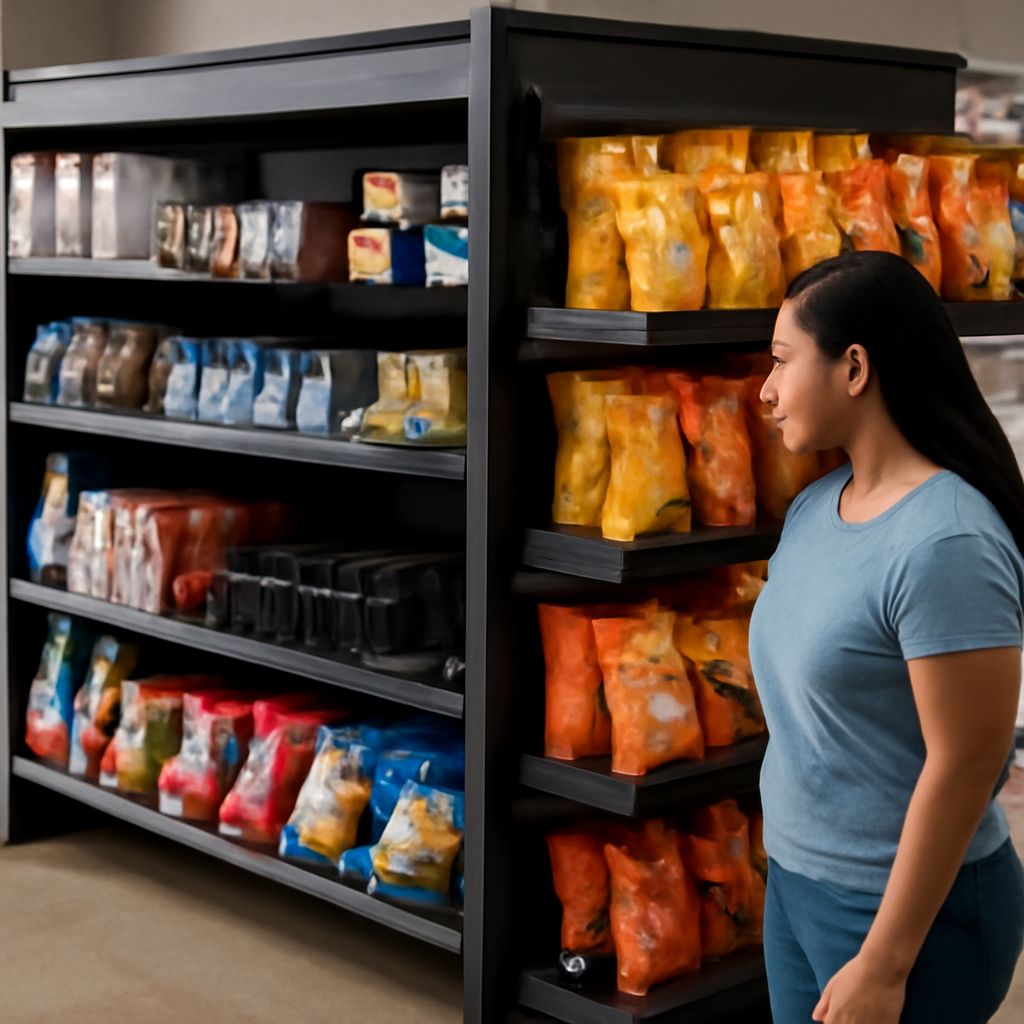
Retail shelving works best when each fixture matches the merchandise, customer reach, traffic pattern, and replenishment method. Use gondola runs for flexible center aisles, wall shelving for perimeter stock, endcaps for promotions, racks for hanging goods, and coolers for temperature-controlled products.
Plan each run around product dimensions, number of facings, shelf load, sightlines, aisle width, and access for staff. A practical layout also leaves room for signage, cleaning, checkout flow, and future expansion.
Retail Shelving Types for Every Store Format
Start by assigning each merchandise group to the fixture that supports its shape, weight, and shopping behavior.
- Gondola shelving: Freestanding double-sided units create efficient center-store runs. Adjustable shelves support boxed goods, packaged products, household items, and health and beauty merchandise.
- Wall shelving: Single-sided runs use perimeter walls without blocking the center floor. They suit tall products, backstock, bulk displays, and departments that need a stronger visual boundary.
- Endcaps: The exposed ends of gondola runs attract attention from both directions. Use them for seasonal goods, promotions, high-margin products, or related add-on items.
- Racks: Garment racks, grid racks, and specialty display racks work better than standard shelves for apparel, long-handled goods, magazines, and irregular products.
- Coolers: Refrigerated cases need suitable shelf materials, air circulation, lighting, and clearance for doors or sliding panels. Keep them near the relevant grocery departments and power access.
- Specialty fixtures: Bins, baskets, display towers, bakery cases, and lockable cabinets address products that need bulk presentation, security, or a particular buying experience.
For general merchandise, combine gondolas with wall runs and selected specialty fixtures. For food stores, use gondolas for dry goods, coolers for chilled products, and dedicated racks or cases for produce, bakery, and promotional displays.
Gondola and Wall Runs for Retail Shelves
Gondola and wall configurations determine how much product fits on the sales floor and how easily customers can compare items. Build a run from standard bays where possible. Consistent bay widths simplify installation, replacement, signage, and later reconfiguration.
Measure the product before choosing shelf depth. Small packaged goods may need shallow shelves that preserve aisle space, while large cartons and bulk packs require deeper shelves and stronger supports. Avoid excessive depth when customers cannot see or reach products at the back.
Set shelf heights around the product’s dimensions and the shopper’s reach. Place high-demand products between waist and eye level. Use lower shelves for bulky goods or heavier packs, and reserve upper levels for lightweight items or limited backstock. Leave enough vertical clearance for customers to remove products without catching adjacent facings.
Count facings by deciding how many units of each product should appear across the shelf. More facings improve visibility and reduce the frequency of replenishment, but they consume space that could support product variety. Use wider facings for fast sellers and narrow facings for slower lines that still need representation.
Keep sightlines open at aisle intersections and near entrances. Tall fixtures can hide departments, promotional signs, or staff activity. Lower sections, angled displays, or shorter endcaps can preserve visibility while adding selling space.
Retail Store Shelving: Match Load to Merchandise
Every shelf should support the actual product load, not just the product’s apparent size. Calculate the combined weight across the shelf, including packaging and replenishment quantities. Heavy cases, canned goods, beverages, and hardware need reinforced beams, brackets, and posts.
Wire shelves suit products that benefit from airflow, visibility, or easy cleaning. They work well in coolers, produce areas, stockrooms, and displays with small packages. Solid metal or laminate shelves provide a stable base for boxes, bottles, jars, and loose items. Choose a surface that will not sag, tip small packages, or absorb spills.
Check the rated capacity for each shelf span and adjust the design when the bay becomes wider or deeper. Load ratings can change with shelf position, support spacing, and the installation method. Place the heaviest merchandise low, keep loads evenly distributed, and prevent products from projecting into the aisle.
Use shelf adjustment to create a close fit around each product category. Movable shelves reduce wasted vertical space and allow a bay to change from small packaged goods to larger containers. Leave enough clearance above the highest product for quick facing, label reading, and restocking.
For valuable or regulated merchandise, add lockable cabinets, shelf dividers, or controlled-access displays. For small loose products, use trays, bins, or front lips to prevent items from falling. A kick plate at the bottom protects the base of the fixture from carts, dirt, and repeated impacts.
Plan Grocery Store Shelving Around Traffic
Grocery store shelving must support frequent replenishment, clear category navigation, and steady cart movement. Begin with the store’s traffic direction, then position major departments and high-demand products so shoppers can move naturally without crossing active restocking paths.
Set aisle width according to cart size, expected traffic, accessibility needs, and the number of shoppers who may pass simultaneously. Narrow aisles can increase capacity but create congestion, poor sightlines, and difficult replenishment. Wider aisles are especially useful near entrances, checkout approaches, coolers, and high-volume departments.
Map the replenishment path before fixing the fixture layout. Staff should be able to bring a cart, pallet, or roll cage close to the bay without blocking shoppers for long periods. Keep receiving routes, storage access, and backroom doors clear. Schedule or design replenishment so busy checkout periods are not interrupted.
Place staple products where shoppers can find them easily, then use endcaps and cross-merchandising displays along the natural route. Keep checkout fixtures compact and visible. Impulse products can sit near queues, but they should not reduce queue capacity, obstruct payment equipment, or create a safety hazard.
Cleaning also affects layout. Leave access around coolers, shelf bases, kick plates, and floor edges. Avoid placing fixtures so tightly that spills, dust, or dropped packaging cannot be removed. Select corrosion-resistant or wipeable surfaces in areas exposed to moisture, food residue, or frequent sanitation.
Store Shelving Accessories and Future Changes
Accessories turn a basic bay into a usable selling system. Choose them with the product and replenishment method in mind.
- Peg accessories: Peg hooks and baskets display blister-packed, bagged, or hanging merchandise. Use hook lengths that hold the required quantity without pushing products into the aisle.
- Slat accessories: Slatwall hooks, shelves, and trays support flexible wall displays for apparel, accessories, tools, and specialty goods. They allow quick changes without replacing the full panel.
- Dividers and pushers: These keep small products facing forward and prevent categories from blending together. Pushers can maintain presentation where items sell quickly.
- Signage: Shelf strips, header signs, price channels, and endcap boards identify departments and promotions. Position signs within the main sightline without hiding the products beneath them.
- Kick plates and guards: These protect lower sections from carts, pallet movement, and cleaning equipment. Add corner guards where traffic repeatedly turns near a run.
Design expansion into the first installation. Keep spare bays, compatible shelf sizes, and standard post spacing available for future changes. Favor modular store shelving that can be moved, extended, or converted with new brackets and accessories. Record bay dimensions, shelf capacities, and fixture locations so staff can reconfigure merchandise without compromising load limits, aisle clearance, or customer sightlines.