
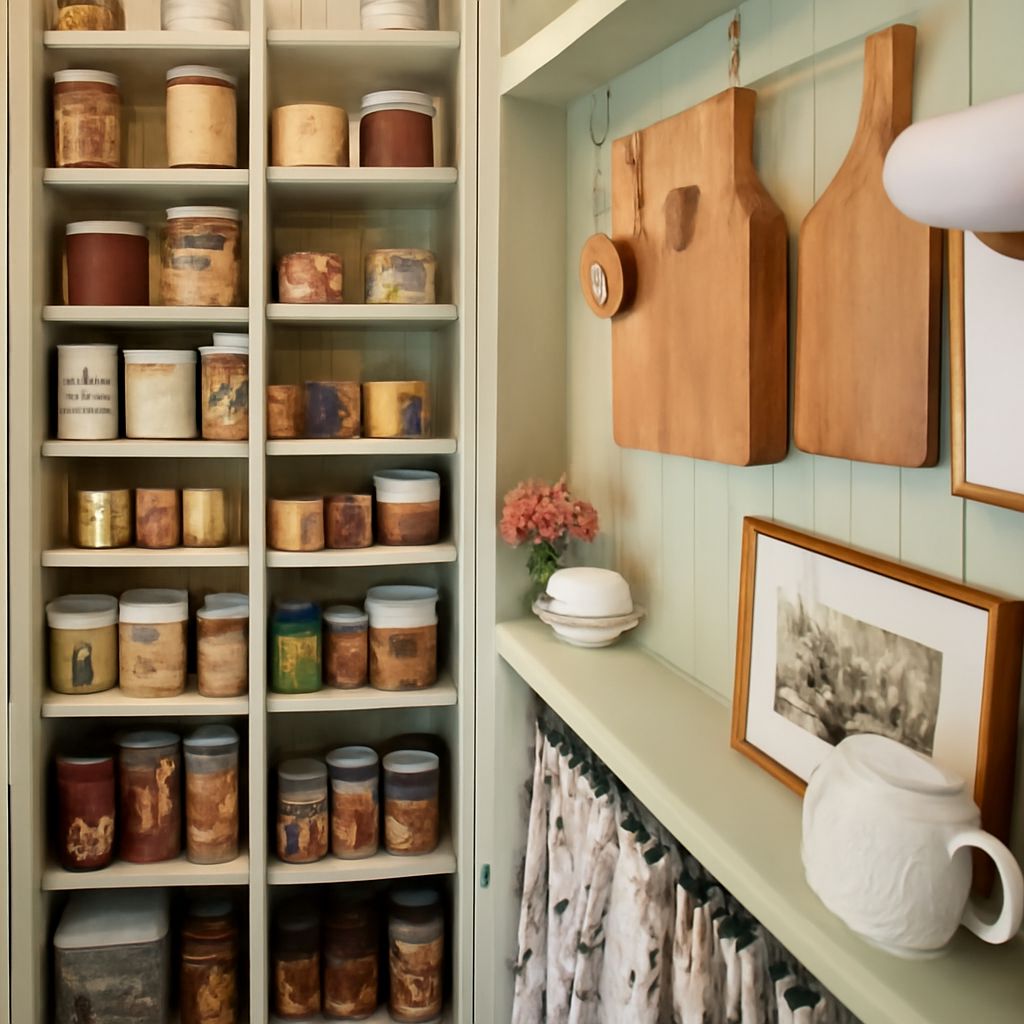
Build DIY pantry shelves by measuring the room, grouping food by container size, and supporting every shelf for its expected load. A practical plan usually uses 10- to 12-inch shelves for cans and jars, deeper lower shelves for bins, and reinforced sections for appliances.
Measure before buying lumber. The finished layout should leave food visible, keep heavy items low, and preserve enough clearance for the doorway, corners, outlets, vents, and appliance doors.
DIY Pantry Shelves: Measure Walls, Corners, Doorways, Appliances, and Containers
Start with a tape measure, level, pencil, stud finder, and notepad. Record measurements in several places because walls and floors are rarely perfectly square.
- Measure each wall. Record the width at the floor, midpoint, and proposed top shelf. Measure the height from the floor to the ceiling, then subtract space for trim, uneven surfaces, and the highest shelf. Check each wall for plumb with a level.
- Measure corners. Note the depth of each wall return and whether the corner is square. In a tight corner, make one shelf run slightly shorter so the other shelf can pass in front of it. Leave about 1 inch for scribing or uneven drywall.
- Measure the doorway. Record the clear opening between jambs, the trim-to-trim width, and the door swing. Shelves should not block the hinge side, reduce the walking path, or interfere with a folding or sliding door.
- Locate appliances and obstacles. Measure the width, depth, and height of mixers, microwaves, coffee makers, toaster ovens, and other appliances. Add at least 2 inches of working clearance above an appliance and enough depth for cords and ventilation. Mark outlets, switches, vents, pipes, and baseboard heaters.
- Measure containers. Group the tallest and widest cans, jars, cereal boxes, storage bins, and bottles. Measure each group while it sits on a shelf, including handles and lids. Add 1 to 2 inches of width and 2 to 3 inches of vertical clearance for easy removal.
Sketch the pantry from above and from the front. Mark studs, shelf edges, door clearance, and the walking route. Keep frequently used items between knee and shoulder height. Reserve the lowest shelves for heavy bulk goods and the highest shelves for occasional-use items.
DIY Pantry Shelving: Choose Materials, Depths, and Spacing for Cans, Jars, Bins, and Small Appliances
For most projects, use 3/4-inch plywood, furniture-grade melamine, or solid boards. Plywood handles screws well and can be painted or stained. Melamine gives a clean, washable surface but needs careful edge treatment. Avoid thin particleboard for wide shelves carrying jars or appliances unless it has continuous support.
- 3/4-inch plywood, melamine, or solid shelving boards
- 1-by-2 or 1-by-3 boards for wall cleats and front edges
- Heavy-duty shelf brackets, cabinet side panels, or vertical dividers
- 2 1/2-inch screws for studs and appropriate anchors for masonry or hollow walls
- Construction adhesive, wood glue, and optional shims
- Edge banding, iron-on veneer, or a 1-by-2 front nosing
- Primer, paint or clear finish, sandpaper, and a small roller
- Tape measure, level, square, stud finder, drill, countersink bit, and saw
Choose shelf depth by category rather than making every shelf the same size. Use the container measurements as the controlling dimension.
- Cans: Allow 10 to 12 inches of shelf depth and 10 to 12 inches of vertical spacing. A shallow shelf keeps cans visible instead of creating a second hidden row.
- Jars and bottles: Use 11 to 13 inches of depth and 12 to 14 inches of vertical spacing. Add more height for swing-top bottles or tall oil containers.
- Bins and cereal boxes: Use 14 to 16 inches of depth and 14 to 18 inches of vertical spacing. Keep the front edge low enough to reach handles without lifting the bin over the shelf above.
- Small appliances: Use 16 to 20 inches of vertical spacing, with shelf depth based on the appliance body plus cord clearance. A 16-inch shelf often works, but measure first.
Keep the upper shelves no deeper than about 12 inches unless you can comfortably reach the back. A 14- to 16-inch depth works well below waist height for bins and bulk ingredients. For spans longer than 30 to 36 inches, add a center divider, front apron, or additional bracket. Loaded pantry shelves should not rely on the board alone to prevent sagging.
Build Pantry Shelves: Mark, Cut, Level, and Fasten Cleats, Brackets, or Cabinet-Style Supports
Complete the marking and cutting in order. This prevents a small measurement error from being repeated across every shelf.
- Mark shelf elevations. Starting at the floor, mark the top of each shelf on both side walls and the back wall. Account for the shelf thickness when transferring the lines. Use a level to connect the marks.
- Mark support locations. Find studs and draw their centerlines. Plan for a back cleat and side cleats on each fixed shelf. If a stud is unavailable, use an anchor rated for the expected load rather than relying on a drywall screw.
- Cut the shelves. Cut each board to the measured width and depth. Test-fit every piece before finishing. For a corner, cut the rear corner to fit the wall angle or use a small gap that will be covered by trim.
- Cut and prepare cleats. Cut the back and side cleats to fit between walls. Pre-drill and countersink screw holes so the heads sit flush. Label each shelf and its matching supports.
- Install the back cleat. Hold it on the lowest level line, check it with a level, and drive screws into studs. Use shims behind the cleat where the wall dips. Do not force a bowed cleat tight enough to distort the shelf.
- Install side cleats or brackets. Align both sides with the back cleat and check the front-to-back level. For bracket systems, place brackets near each end and no more than 24 to 30 inches apart on heavily loaded shelves.
- Add stronger cabinet-style support where needed. Use vertical side panels, a center divider, or a full-height partition for wide spans, appliance shelves, and corner returns. Fasten these panels to studs or the floor and ceiling structure, not only to drywall.
- Set the shelves. Apply a thin bead of adhesive to the cleats, place the shelf, and check it from front to back and side to side. Screw up through the cleats where possible, using short screws that cannot break through the shelf surface.
For a finished front, attach a 1-by-2 nosing to each shelf or apply edge banding according to its instructions. The front edge reduces flex and hides the plywood layers. Leave a small clearance at walls so seasonal movement does not buckle the shelf.
DIY Pantry Shelving Ideas: Finish, Cure, Test, Gradually Load, and Organize
Sand exposed edges and corners until they feel smooth. Remove dust, then prime plywood edges before painting. Apply two thin coats of washable cabinet or trim paint, sanding lightly between coats. For clear-finished wood, use a durable water-based polyurethane and coat all exposed surfaces, including the underside and front edge.
Respect the finish manufacturer’s drying and cure instructions. Even when a surface feels dry, it may remain soft underneath. Allow at least 48 hours after the final coat before placing clean paper liners or food containers on the shelves; wait longer in cool or humid conditions.
Inspect the supports before loading. The shelf should remain level, screws should sit flush, and no cleat should pull away from the wall. Test one shelf at a time:
- Place about 25 percent of the planned load on the shelf and inspect it after several minutes.
- Increase to roughly 50 percent, distributing weight from both ends toward the center.
- Increase to 75 percent, then leave the shelf loaded for several hours or overnight.
- Add the remaining load only if the shelf stays level and the supports show no movement.
Stop and reinforce the shelf if it sags visibly, the front edge separates, a screw loosens, or a bracket twists. Move heavy cans, flour, water, and countertop appliances to lower shelves. Store cans and jars in single rows when possible, use bins for loose packets, and label the front edge so older food stays easy to reach.