
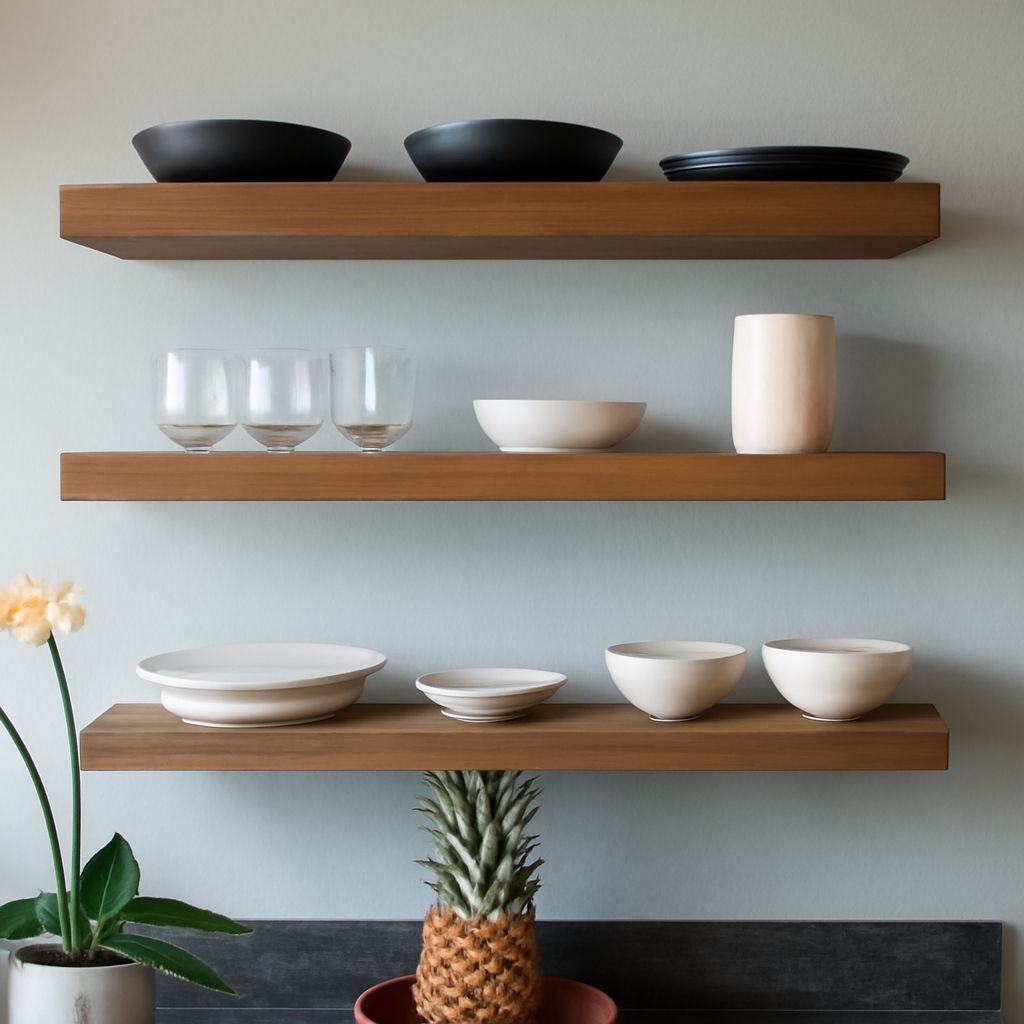
Plan custom shelving from the items it must hold, not from an empty wall. Record each item’s width, height, depth, weight, and access needs before choosing shelf style, material, span, supports, and finish.
Then measure the wall in several places, identify studs and obstacles, and allow for installation tolerances. This process prevents shelves that are too shallow, unsupported, difficult to reach, or impossible to install in the available space.
Custom shelving: define the storage brief
Start with an inventory. Group items by use and record the largest example in each group. Include books, appliances, baskets, records, display objects, and anything that needs clearance for handles or lids.
- Width and depth: Measure the item at its widest and deepest points. Add clearance for removing it comfortably.
- Height: Record the tallest item in each group, then add room above it. Include space for future purchases.
- Load: Estimate the total weight on each shelf. Note concentrated point loads, such as pottery, tools, or amplifiers, rather than treating every load as evenly distributed.
- Access: Decide whether items must be visible, reachable from a seated position, or removed frequently. Deep shelves can hide objects and make rear access difficult.
- Change: Identify items likely to change size or quantity. Adjustable shelf pins or extra vertical space may be more useful than tightly fitted compartments.
Measure the wall width at the floor, work surface, and ceiling. Check whether the wall is plumb with a level, and note bows or uneven corners. Record baseboards, crown molding, window and door trim, outlets, switches, vents, radiators, pipes, and nearby door swings.
Locate studs with a reliable method, then verify their positions before finalizing support locations. For masonry or concrete, identify the wall type and suitable anchors. Photograph the wall and mark measurements on a sketch. Also check the route into the room: stair turns, lift dimensions, narrow doors, and whether a large assembled unit can be carried and rotated into place.
Choose a custom shelf: built-in, bracketed, floating, or freestanding
Choose the shelf type according to load, appearance, adjustability, and installation conditions.
- Built-in shelves: These run between walls or sit within an alcove. They use space efficiently and can include doors, drawers, dividers, and adjustable sections. They suit permanent storage but require accurate site measurements, scribing, and careful trim treatment.
- Bracketed shelves: Visible brackets provide straightforward support and make installation or future replacement easier. Use them for books, kitchens, utility rooms, and situations where a decorative metal or wood bracket suits the design.
- Floating shelves: Concealed rods or a hidden frame create a clean appearance. They work well for lighter display storage, but the wall structure, hardware depth, shelf thickness, and load must be designed together.
- Freestanding shelving: A movable unit avoids some wall-fitting problems and can be relocated later. It needs a stable footprint and anti-tip anchoring, particularly when it is tall or used by children.
Desired adjustability often decides the choice. Fixed built-ins look integrated, while shelf pins, standards, or movable brackets allow changing storage needs. If the wall may be repainted, remodeled, or used differently, choose hardware that can be removed without major repairs.
Size custom wood shelves for span, sag, thickness, and load
Span is the clear distance between supports, not the overall shelf length. As span increases, sag risk rises quickly. A 3/4-inch solid-wood shelf carrying books across a 36-inch unsupported span may sag; reduce the span, increase thickness, add a front stiffener, or use an intermediate support.
As a starting point, moderate household loads often need support spacing around 24 to 30 inches, but the correct distance depends on wood species, shelf construction, thickness, depth, and load. Dense books, stoneware, and equipment require more conservative spacing than light décor.
Specify the material with the structure in mind:
- Solid wood: Offers natural grain and can be repaired or refinished. Account for seasonal movement, especially across wide shelves.
- Hardwood plywood: Provides a stable core and consistent dimensions. Apply a matching solid-wood edge or veneer to conceal the plies.
- MDF or composite board: Produces a smooth painted surface, but long spans and moisture require additional care. It usually needs thicker construction or stiffening.
Thickness should match span and visual scale. Short shelves with light loads may suit 3/4-inch stock. Longer or heavily loaded shelves often need 1 inch or more, a laminated front edge, a box construction, or a concealed steel stiffener. Ask the fabricator to verify the design for the actual load rather than relying on thickness alone.
Specify the edge treatment as well as the board. Options include a square edge, eased edge, round-over, solid-wood lipping, or a thicker-looking laminated edge. A small eased edge reduces sharp corners, while a solid front lipping adds stiffness and hides plywood layers. For a clean run, confirm whether the finished dimensions include the edge detail.
Allow clearance around the contents and surrounding architecture. Shelves near a door need swing clearance; shelves over a countertop need working space below. For wall-to-wall shelves, avoid assuming the walls are parallel. A small scribe or filler strip can hide irregular gaps and make installation cleaner.
Plan custom floating shelves with hidden hardware and anchors
Floating shelves transfer their load through concealed hardware, so the support plan must be set before the shelf is built. Use steel rods, a welded frame, or a manufacturer-specified concealed bracket sized for the shelf depth and load.
Anchor the hardware into studs, solid blocking, masonry, or another verified structural surface. Drywall alone is not a suitable primary support for a heavily loaded floating shelf. If stud locations do not align with the preferred shelf layout, install blocking before the wall is closed or choose visible brackets that can be positioned more flexibly.
Confirm the hardware’s required embedment, rod spacing, screw type, and minimum shelf thickness. The shelf must fit tightly over the support without splitting, rocking, or leaving a visible gap at the wall. Hidden hardware also needs enough internal depth, which can make a hollow box shelf more suitable than a single board.
Plan installation tolerances before cutting. Leave a small, intentional clearance at side walls where removal is required, and allow a scribe or filler at irregular built-in ends. Mark the finished floor or countertop level, not just a rough construction line, so the shelves remain aligned after flooring, trim, or backsplash installation.
Create an order specification for custom shelving units
Turn the plan into a written specification that another person can build from without guessing. Include:
- Overall dimensions: State finished width, height, depth, and whether measurements are maximum, nominal, or site-verified. Note any scribe, filler, or side clearance.
- Layout: List the number of shelves, fixed and adjustable positions, clear openings, dividers, toe kicks, doors, and access requirements.
- Material and construction: Name the wood species or panel type, thickness, edge treatment, grain direction, back panel, joints, and any front stiffener or steel reinforcement.
- Support details: Show bracket locations, shelf-pin holes, concealed hardware, stud or masonry anchor points, screw requirements, and anti-tip connections.
- Finish: Specify paint, stain, clear coat, oil, sheen, color, and whether all exposed edges, undersides, and interior surfaces receive finish. Samples should be approved under the room’s lighting.
- Installation: State whether the unit arrives assembled or flat-packed, who installs it, and what must be complete first. Include leveling, scribing, wall protection, trim removal, and final touch-up.
Before approval, compare the specification with the original inventory. Verify that every item fits its clear opening, the heaviest load has structural support, doors and walkways remain unobstructed, and adjustable positions leave useful spacing for future changes. For custom shelving units, request a dimensioned drawing showing finished sizes, support points, hardware, and installation tolerances before fabrication.