
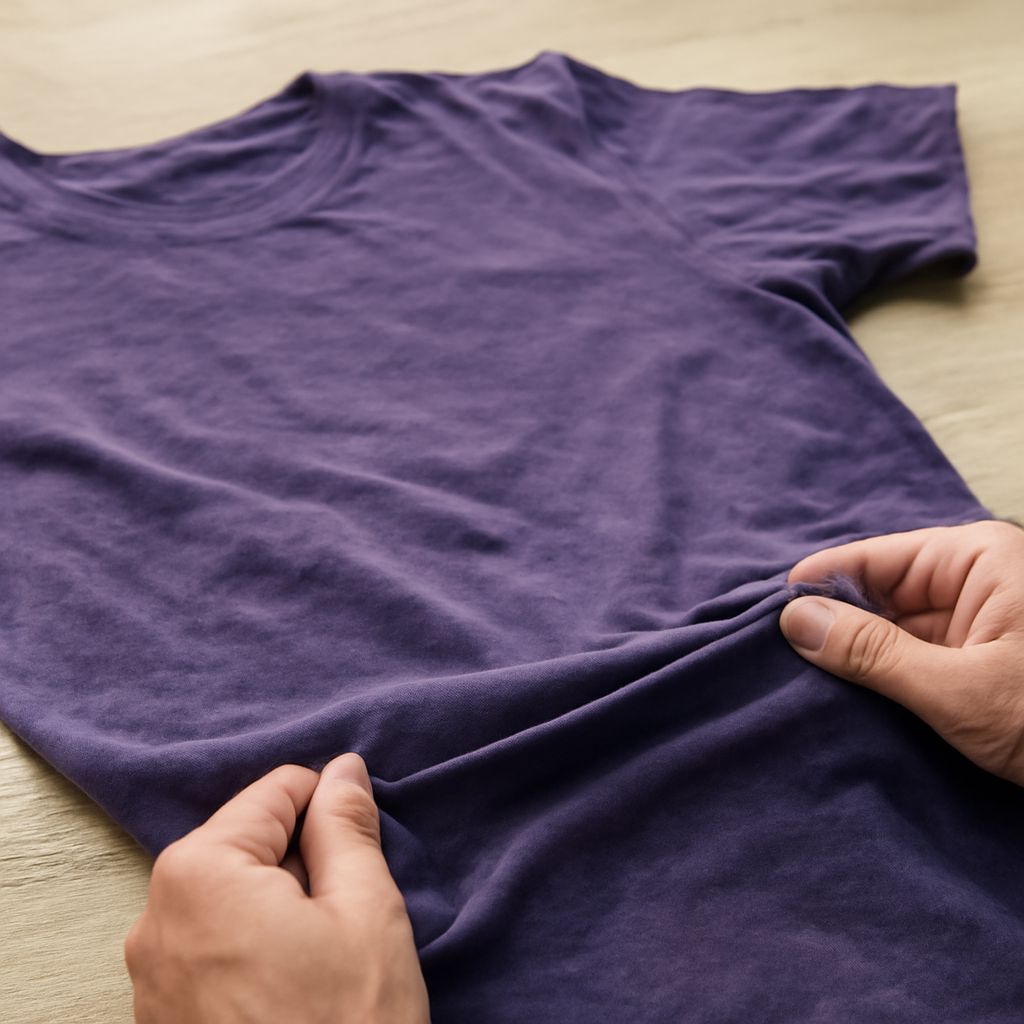
To shrink a cotton shirt with some control, measure it first, use one warm wash and a heated dry cycle, then measure and try it on before repeating. Start with moderate heat rather than the hottest setting, because cotton can shrink unevenly in the body, sleeves, collar, or seams.
How much a shirt changes depends on its fiber content, whether it was preshrunk, and whether it is a knit or woven fabric. You can often make a shirt smaller, but you cannot reliably choose exactly one size or guarantee an even result.
How to shrink cotton: Check the shirt’s shrink potential
Read the fiber and care labels before applying heat. A shirt labeled 100% cotton generally has more shrink potential than a cotton blend, especially if it is new and has not been washed. Cotton-polyester blends usually shrink less because polyester resists heat-related contraction. A shirt with a small amount of elastane may also lose stretch if exposed to high heat.
Preshrunk cotton has already been treated to reduce dimensional change. It may still shrink during washing and drying, but do not expect a specific size reduction or perfectly even results. The remaining change can vary between brands, fabric lots, and garment panels.
- Knit cotton: Jersey and similar knits can contract in both width and length. They may also twist, curl, or become uneven around the side seams.
- Woven cotton: Poplin, oxford, and canvas shirts often hold their shape better, but the collar, cuffs, sleeves, and body can still change at different rates.
- Printed or decorated shirts: Heat can crack graphics, fade dyes, or stiffen printed areas. Turn these shirts inside out before washing.
Check for existing damage before starting. A weak seam, loose thread, stretched collar, or worn elastic may worsen in a hot wash or dryer. If the care label says “do not tumble dry,” a heated dryer is a higher-risk choice, even if the goal is shrinking.
Can you shrink clothes? Start with measurements and a whole-shirt cycle
Yes, you can shrink some clothes, but the most predictable approach is one complete cycle followed by a fit check. Do not begin by repeatedly washing and drying the shirt until it “looks smaller.” That method can overshoot the fit and create uneven panels before you notice.
Lay the clean, dry shirt flat without stretching it. Record these starting measurements in centimeters or inches:
- Chest width: Measure straight across from armpit to armpit, then double that number for the chest circumference.
- Body length: Measure from the highest shoulder point beside the collar to the bottom hem.
- Shoulder width: Measure from one shoulder seam to the other.
- Sleeve length: Measure from the shoulder seam to the cuff. For raglan sleeves, measure from the collar seam instead.
Photograph the shirt beside the tape measure or write the figures on a note. Also try it on and identify the actual problem: a loose chest, a long body, oversized sleeves, or a generally large fit. A full-garment cycle is suitable when several areas need to become smaller. It is less suitable when only one area needs adjustment.
For a controlled first attempt, wash the shirt according to its label using warm water around 40°C (104°F). Use a normal or gentle cycle based on the fabric and construction. Warm water provides a starting point with less risk than immediately using the hottest setting.
After washing, reshape the shirt while it is damp. Check that the side seams, shoulders, collar, and hem are straight. Then tumble-dry it on a medium or medium-high heat setting until dry. Remove it promptly and let it cool flat before measuring. Heat can make fabric appear temporarily smaller while warm, so measure after it has returned to room temperature.
How to shrink cotton shirts with controlled wash and dryer heat
When the first cycle produces too little change, repeat the process once rather than increasing every setting at the same time. Change only one factor so you can tell what caused the additional shrinkage. For example, keep the warm wash but extend the medium-high drying time slightly.
A practical sequence is:
- Wash the shirt warm, using the appropriate detergent amount and a similar load size each time.
- Reshape it damp, paying attention to the collar, button band, side seams, and hem.
- Dry it on medium heat for a complete cycle or until fully dry.
- Cool it completely, then repeat the four measurements and try it on.
If the shirt still needs to become smaller throughout, a second warm wash and dry may be reasonable. Move to a hotter wash or high dryer heat only if the label permits it and the garment can tolerate the added risk. High heat can cause sudden length loss, harden prints, distort ribbed trim, and make shrinkage less even.
Do not combine boiling water, high agitation, and prolonged high-heat drying as a first attempt. Those conditions can shrink the body while leaving the collar or cuffs relatively unchanged. They can also create a shirt that is shorter without being narrower, or narrower across the chest while the sleeves remain too long.
Stop the whole-shirt method if the chest measurement is right but the body, sleeves, or neckline is no longer comfortable. Further cycles affect the entire garment, not only the part that still feels large.
How to shrink a 100% cotton shirt in targeted areas
For a small adjustment, target the loose area instead of shrinking the entire shirt. This method works best on plain, washable cotton without delicate decoration. It is harder to control on patterned fabric because the design may reveal even minor distortion.
First, identify the area that needs reduction and measure it. To tighten a loose body panel, dampen only the front and back sections that need adjustment. Avoid soaking the collar, shoulders, sleeves, cuffs, button band, and hem unless they also require change.
Place the dampened section in a dryer on medium heat for about 10 to 15 minutes. Remove the shirt, cool it flat, and measure the area again. Repeat in short intervals if necessary. Do not leave the shirt unattended for a long, hot cycle, because a damp patch can dry faster at its edges and create a visible boundary or uneven contraction.
For sleeves, dampen the sleeve evenly from the shoulder seam to the cuff. Lay it flat in its natural shape before drying. Avoid wetting only the cuff or elbow, which can produce a puckered section rather than a shorter, consistently shaped sleeve.
Spot shrinking has limits. Moisture and heat can travel beyond the area you wet, and cotton rarely contracts with laboratory-level precision at home. If a shirt needs major tailoring, or if the desired change is limited to the side seams, a tailor can alter it more evenly than repeated heat cycles.
Shrinking shirts: Measure, try on, and stop after each cycle
Use the same flat position and tape placement after every cycle. Compare chest width, body length, shoulder width, and sleeve length separately. A two-centimeter change in body length is not equivalent to a two-centimeter change in chest width, because each affects fit differently.
Try the cooled shirt over the type of undershirt you normally wear. Raise your arms, button it, sit down, and reach forward. Check that the shoulder seams remain near the shoulder edge, the collar is comfortable, and the hem does not ride up. Look for twisting side seams, a wavy hem, a tight armhole, or sleeves that have become noticeably shorter.
Use this stopping rule: stop when the shirt fits comfortably in its most important area, even if another measurement is still slightly loose. Do not run another full cycle to correct one small problem. Stop immediately if the shirt becomes tight across the chest, restricts movement, distorts at the buttons, or shows uneven shrinkage.
Once the fit is acceptable, wash and dry the shirt using settings that preserve that result. Avoid assuming future hot cycles will produce the same amount of change; cotton can continue to alter gradually, and different parts of the garment may respond differently.