
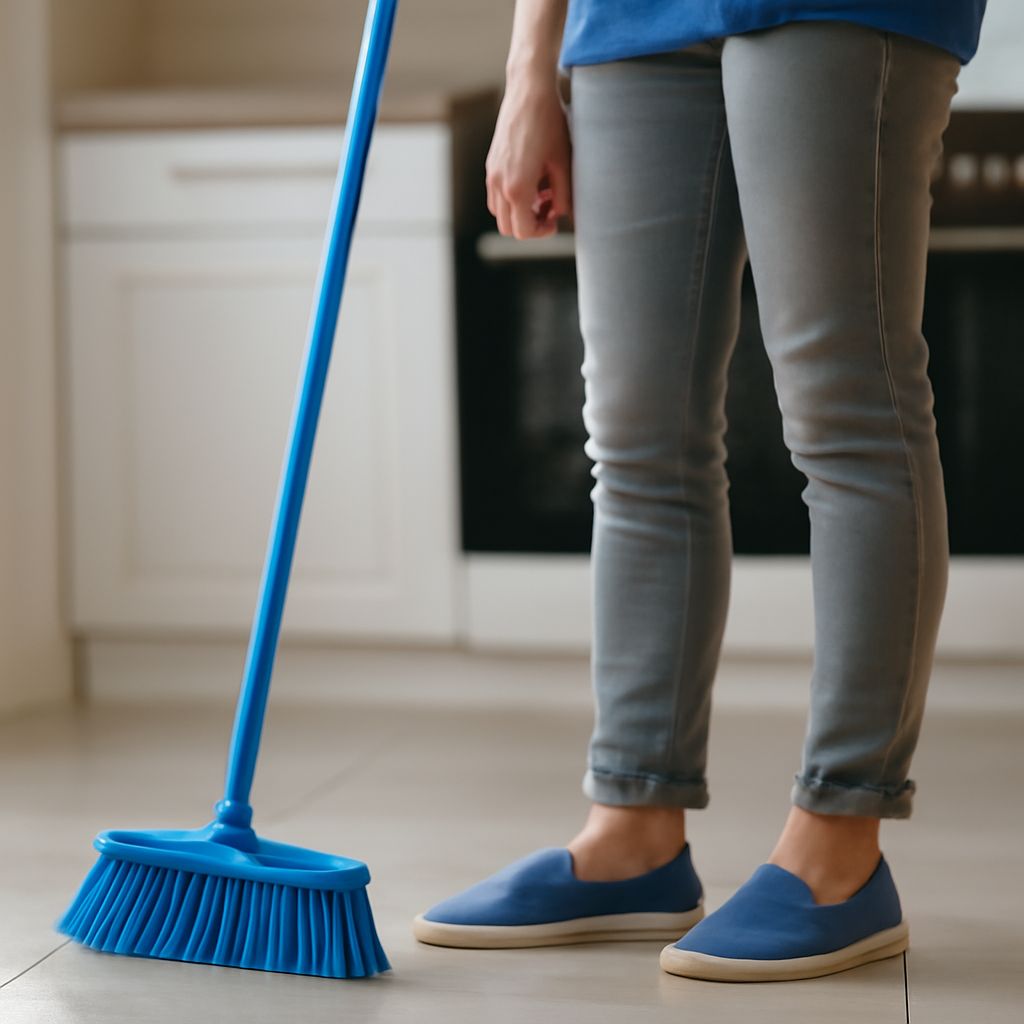
The fastest way to learn how to clean a house is to remove clutter first, clean high surfaces before low ones, and leave floors until the end. This is how to clean a house fast and properly: stage supplies once, let products dwell while you work elsewhere, and batch the same task across rooms.
Work from the farthest room toward the exit. If your home has multiple floors, start upstairs and finish downstairs. Keep one caddy with you, and avoid carrying wet tools into rooms that are not ready for them.
How to Clean a House: Prepare Supplies and Reset Clutter
Gather everything before cleaning so you do not interrupt the sequence. Use a caddy for products and a separate basket for items that belong in other rooms.
- Microfiber cloths, including separate cloths for bathrooms and glass
- A vacuum with crevice and upholstery attachments
- A broom, dustpan, mop, and bucket
- A duster or extendable microfiber duster
- Trash bags, a laundry basket, and gloves
- All-purpose cleaner, glass cleaner, degreaser, bathroom cleaner, and toilet cleaner
- Disinfectant for labeled high-touch surfaces
Read each product label, and never combine bleach with ammonia, acids, or other cleaners. Use the least aggressive product that will remove the soil.
- Start laundry. Strip used sheets and towels, then begin one load while you clean.
- Collect obvious waste. Empty bins, gather recycling, and remove food scraps.
- Reset each room. Return dishes, clothes, toys, mail, and other loose items to their proper places. Put misplaced items in the basket rather than walking room to room.
- Clear surfaces. Remove decorative objects and small appliances so you can clean underneath them.
- Move toward the exit. Finish one room’s dry tasks before progressing to the next, while keeping the basket with you.
For a maintenance clean, only return items that were already in use. For a deeper clean, sort the basket and wipe empty shelves, drawers, or neglected corners after the main routine.
Zone check: A reset room has clear walkways, no loose rubbish, and no items waiting on the floor. The basket should be lighter or empty before you begin wet cleaning.
How to Clean the House: Clean High and Dry Surfaces First
Now dust every room before using sprays or wet tools. Begin at the ceiling and work downward so falling dust lands on surfaces you have not finished.
- Dust ceiling fans, light fixtures, vents, curtain rods, and the tops of tall furniture.
- Clean shelves, picture frames, cabinet tops, tables, and other horizontal surfaces.
- Wipe doors, handles, switches, stair rails, and other frequently touched areas.
- Clean mirrors and glass, working from the upper edge downward.
- Leave upholstery and floors until the end of the whole-home sequence.
Use a dry microfiber cloth for loose dust. If a surface is sticky, spray cleaner onto the cloth or use the appropriate product, then allow the soil to soften for several minutes before wiping. Do not soak wood, unsealed stone, electronics, or painted surfaces.
Batching saves time. Dust all bedrooms, then living areas, then hallways rather than repeatedly switching between dusting, vacuuming, and mopping. Use a vacuum attachment for edges, lampshades, upholstery, and cobwebs.
For light dust, one careful pass is enough. For greasy fingerprints or buildup, apply cleaner, wait according to the label, and wipe with a fresh cloth. A cloth that smears instead of lifting soil needs replacing or rinsing.
Zone check: Stand at the room entrance and look across the surfaces at eye level. The room is ready for the next stage when you see no dust lines, loose cobwebs, fingerprints, or displaced objects.
How to Clean My House: Clean Kitchens and Bathrooms
A practical answer to “how to clean my house” starts with cleaning wet areas after dry dusting. Apply products before beginning the next task so they have time to work.
Kitchen sequence
- Put away clean dishes and load or wash dirty ones.
- Apply degreaser to the stovetop, backsplash, and heavily soiled cabinet fronts. Let it dwell while you clean elsewhere.
- Wipe counters from the cleanest area toward the dirtiest. Clean small appliances and cabinet handles.
- Scrub the stovetop, then wipe it with a clean, damp cloth.
- Clean the sink last, including the drain area and faucet. Rinse away residue and dry the faucet to prevent spots.
For quick maintenance, remove crumbs, wipe spills, and clean visible fingerprints. For deeper soil, repeat the dwell-and-wipe cycle rather than pressing harder, which can spread grease or damage finishes.
Kitchen check: Counters should feel clean rather than tacky, the stovetop should have no visible grease, and the sink should be free of food particles and cloudy residue.
Bathroom sequence
- Apply toilet cleaner under the rim and bowl surface. Apply bathroom cleaner to the tub, shower, basin, and soap buildup.
- While products dwell, clean the mirror, light switches, shelves, and cabinet fronts.
- Scrub the tub, shower walls, fixtures, and basin. Rinse surfaces where the label requires it.
- Clean the toilet exterior, handle, lid, seat, and base with a separate cloth. Finish by brushing the bowl.
- Wipe the faucet and dry fixtures to reduce water spots.
Use a quick pass for light soap film and routine dust. For mineral scale or stubborn soap buildup, give the labeled product more dwell time and use a non-scratch tool. Keep bathroom cloths separate from kitchen cloths.
Bathroom check: The mirror should be streak-free, fixtures should have no cloudy residue, the toilet should be clean inside and out, and the floor should have no loose hair or visible debris.
Finish Floors and Perform a Final Zone Check
Floors come last because dust and crumbs fall during every earlier step. Start in the farthest room and finish at the exit so you do not walk across completed areas.
- Pick up remaining items and move lightweight furniture enough to reach visible edges.
- Vacuum or sweep floors, stairs, rugs, corners, baseboards, and beneath furniture.
- Spot-clean sticky marks before mopping.
- Mop hard floors with the correct dilution, using a damp rather than soaking-wet mop.
- Rinse or change the mop water when it becomes cloudy, and leave cleaned floors to dry.
Vacuum rugs slowly in high-traffic areas, using an attachment for edges. For hard floors, follow the flooring manufacturer’s care instructions; excess water can damage wood and laminate.
Complete the final check by walking the same route a visitor would take. Confirm that:
- Trash has left the house and laundry has been moved to the next stage.
- Surfaces are dry, streak-free, and free from visible dust.
- Kitchen counters, sinks, and appliances have no sticky residue.
- Bathrooms have clean mirrors, fixtures, toilets, and empty bins.
- Floors have no crumbs, hair, footprints, or damp patches.
- Cleaning products, cloths, and tools are rinsed, dried, and returned to storage.
Any missed mark is easier to fix now than after supplies are put away. A properly finished zone looks clear, feels clean, and passes this visible check without another room-to-room trip.