
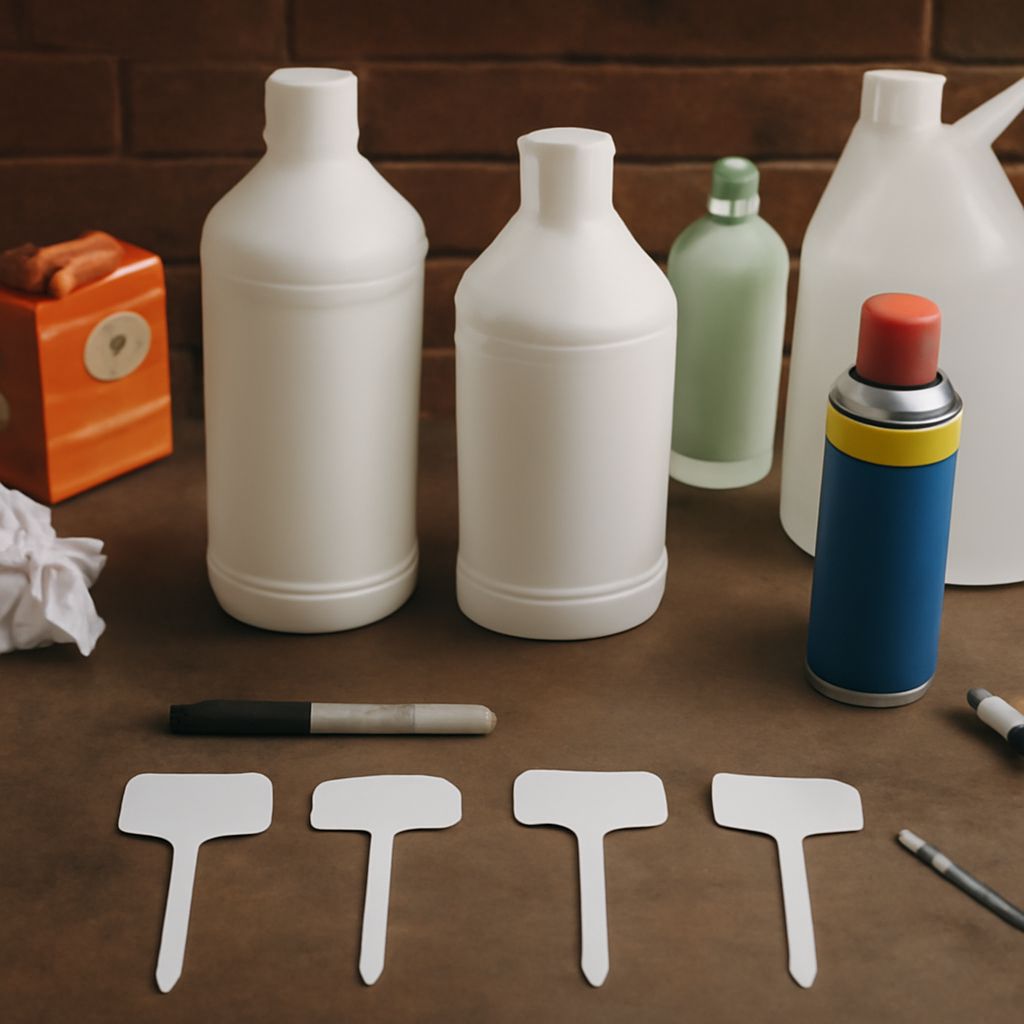
Start with the gentlest cleaner that can actually move the ink, then step up only if the mark stays put. For most plastic, that means warm soapy water, then isopropyl alcohol, then a small amount of stronger solvent if the surface can handle it.
The safest approach for how to remove permanent marker from plastic is to spot test first, work in small sections, and stop as soon as the stain lifts. Different plastics react differently, especially clear, printed, textured, and painted surfaces.
Identify and Test the Plastic
Before you try how to remove marker from plastic, check the surface finish. Smooth hard plastic usually tolerates more than soft, painted, or coated plastic. If you are dealing with packaging, appliance trim, storage bins, toys, or electronics, assume the finish may be sensitive until you prove otherwise.
Look for these cues:
- Clear plastic: can haze or scratch easily.
- Textured plastic: holds ink in grooves and needs more patience.
- Painted plastic: the coating can lift before the marker does.
- Printed or labeled plastic: graphics can smear or disappear.
Test in an inconspicuous spot first. Apply the cleaner with a cotton swab, wait 30 seconds, then wipe lightly. If the surface clouds, softens, turns tacky, or the print starts transferring, stop and switch to a milder option.
Gather a few simple tools: mild dish soap, warm water, microfiber cloths, cotton swabs, isopropyl alcohol, and optional baking soda paste. Keep paper towels nearby for quick lifting, not hard scrubbing.
Remove the Marker from Least to Most Aggressive
Work from the least aggressive method upward. This is the best way to how to get permanent marker off of plastic without damaging the finish.
1. Wash first with soap and warm water
Mix a drop of dish soap into warm water. Dampen a cloth and wipe the mark for 20 to 30 seconds. This removes oils and loose ink so later cleaners can work better. Dry the area and check the result.
2. Use isopropyl alcohol
If the mark remains, moisten a cotton swab or cloth with 70% to 99% isopropyl alcohol. Dab the ink instead of flooding the plastic. Let it sit for a few seconds, then wipe gently in one direction. Refresh the swab often so you do not spread the pigment.
This is the best next step for many people asking how to remove permanent marker from plastic, because it often lifts the ink without much surface damage.
3. Try a baking soda paste on sturdy, uncoated plastic
For harder plastic that still shows stain, mix baking soda with a little water to make a soft paste. Apply it with a cloth or swab and rub very lightly. Baking soda adds mild abrasion, so use it only when the finish is not glossy, printed, or easily scratched.
4. Step up to a stronger solvent only if the plastic can handle it
If the stain is still visible and the spot test was safe, you can try a tiny amount of acetone-free nail polish remover or a plastic-safe solvent wipe. Use the smallest amount possible, and work quickly. Many plastics, especially clear or glossy ones, can cloud or soften with stronger cleaners.
Do not use aggressive solvent on a delicate surface just to save time. A lighter mark that remains is better than a damaged panel.
5. For stubborn grooves, lift the ink in passes
Textured plastic often needs repeated short passes rather than heavy pressure. Press a swab into the grooves, wait briefly, then wipe. Repeat with a clean swab. If the ink is embedded deep in texture, complete removal may not be possible without changing the surface.
Rinse, Inspect, and Decide Whether to Repeat
After each cleaner, wipe the area with a clean damp cloth to remove residue. Then dry it completely and inspect under bright light. Marker often looks gone when the surface is still wet, so let it dry before judging the result.
Repeat only if the surface still looks intact. Stop if you notice any of these damage cues:
- clouding or hazing on clear plastic
- softening or tackiness
- loss of gloss
- color change in painted areas
- smudging or fading of printed graphics
- scratches from over-rubbing
If one cleaner lifts most of the ink, use that method again rather than jumping immediately to a harsher one. Short contact times are safer than soaking. For older marks, several gentle rounds often work better than one aggressive attempt.
When the stain is mostly gone, do a final wash with soap and water, then dry the plastic fully. This helps remove leftover solvent film and makes it easier to see whether any shadow remains.
Handle Clear, Textured, Painted, or Printed Plastic
Different surfaces need different limits. The same method for how to remove magic marker from plastic can work on one item and damage another.
Clear plastic
Use the mildest possible method. Soap and water, then alcohol, are usually safest. Avoid scrubbing pads, powder pastes, and long solvent contact, because they can haze the surface. Wipe with light pressure only.
Textured plastic
Ink settles in small valleys, so a swab works better than a cloth. Patience matters more than force. Alcohol and repeated swabbing usually outperform hard rubbing. If the texture is fine and deep, some stain may remain in the lowest points.
Painted plastic
Test carefully, because the paint layer may come off before the marker. Use very little liquid and short contact times. If the color on the swab matches the paint, stop at once and avoid stronger cleaners.
Printed or labeled plastic
Treat graphics as fragile. Even alcohol can soften some inks and decals. Clean around the mark first, then touch the stain lightly with a barely damp swab. If the label starts to blur, switch to plain soap and water and accept a lighter cleanup.
Soft or flexible plastic
Flexible plastics can absorb solvent faster than rigid ones. Use the smallest amount of cleaner and avoid soaking seams or edges. If the surface turns sticky, rinse immediately and let it air-dry before trying anything else.
If you are still deciding how to remove marker from plastic on a valuable item, test the least visible edge first. The safest method is the one that removes ink without changing the finish.